A Connection between Pilates & Acupuncture

Pilates & Acupuncture

In recent years, holistic approaches to health have all seen a surge in popularity – and with good reason. More than just placebo effect, practices like acupuncture have demonstrated a positive impact on health and well-being.

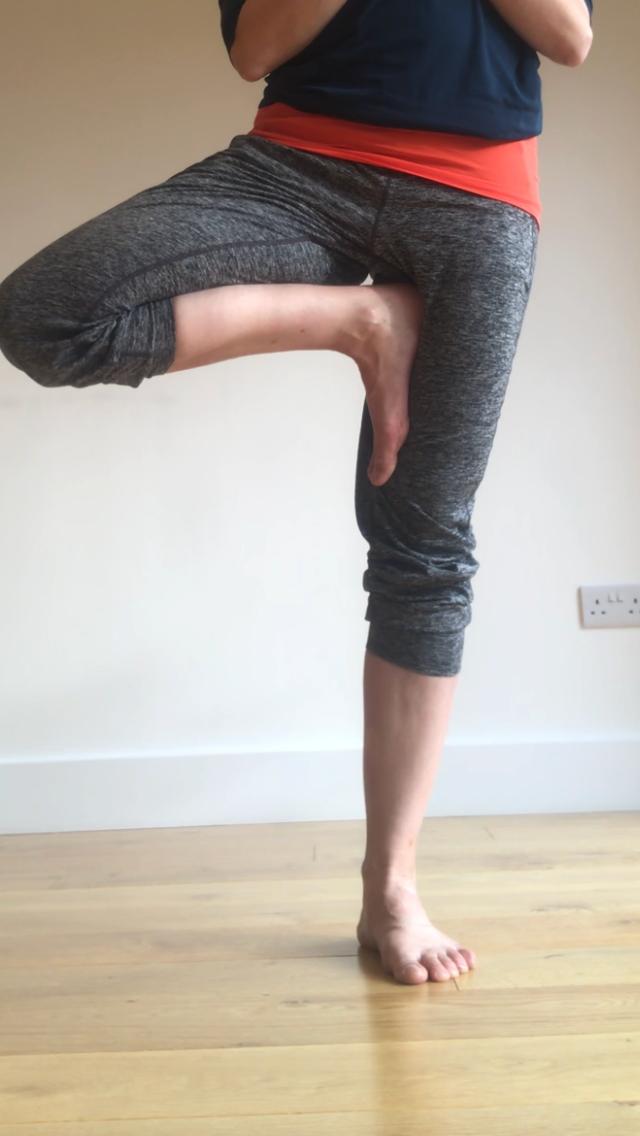
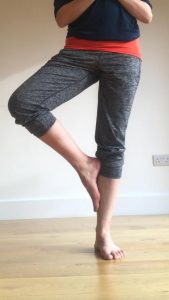
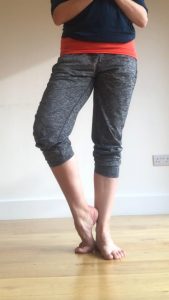
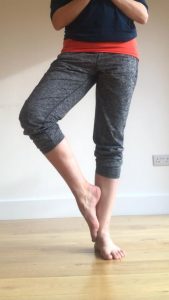
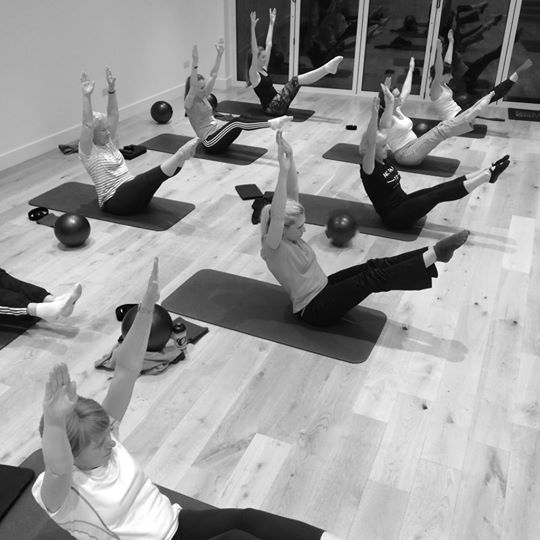
Pilates is another discipline that  focus on core strength and balance.

Interestingly, both Pilates and acupuncture—have much in common. From similar effects on the body to a concentration on mental cohesion, Pilates and acupuncture offer a world of tangible benefits, especially when practiced simultaneously.

Same Systems?

Western medical acupuncture  involves stimulating sensory nerves under the skin and in the muscles of the body.

This results in the body producing natural substances, such as pain-relieving endorphins. It’s likely that these naturally released substances are responsible for the beneficial effects experienced with acupuncture.

Traditional acupuncture is based on the belief that an energy, or “life force”, flows through the body in channels called meridians. This life force is known as Qi (pronounced “chee”).

Practitioners who adhere to traditional beliefs about acupuncture believe that when Qi doesn’t flow freely through the body, this can cause illness. They also believe acupuncture can restore the flow of Qi, and so restore health.

Pilates also focuses on bodily movement. A typical Pilates regimen features movements designed to engage and rebalance the “myofascial meridians”. When these fascial and muscle chains are working in coordination the body can work as an integrated whole – a collaboration of many systems.

Real Relief

So, what really happens when you combine Pilates and acupuncture? According to new research published by The Mayo Clinic, acupuncture was found to dramatically relieve lower back pain and improve overall mobility.

With the addition of Pilates, the overall impact of acupuncture is only increased. Given that the overarching goal of Pilates is to improve core balance and function, the two practices can truly work in tandem – building a healthier and more balanced you.

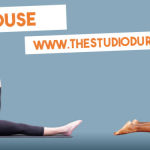
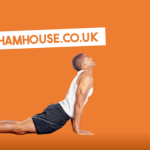
If you would like to understand more about the benefits of acupuncture alongside your Pilates practice then visit our website www.durhamhousechiropractic.co.uk and book an appointment.

Pancake Day done differently

About Pancake Day

Pancake Day, or Shrove Tuesday, is the traditional feast day before the start of Lent on Ash Wednesday.

Lent – the 40 days leading up to Easter – was traditionally a time of fasting and on Shrove Tuesday,  Ango-Saxon Christians went to confession and were “shriven” (absolved from their sins). A bell would be rung to call people to confession. This came to be called the “Pancake Bell” and is still rung today.

Shrove Tuesday always falls 47 days before Easter Sunday, so the date varies from year to year. This year Shrove Tuesday is 5th March.

Shrove Tuesday was the last opportunity to use up eggs and fats before embarking on the Lenten fast and pancakes are the perfect way of using up these ingredients.

The pancake has a very long history and has featured in cookery books as far back as 1439. The tradition of tossing or flipping them is almost as old: “And every man and maide doe take their turne, And tosse their Pancakes up for feare they burne” (Pasquil’s Palin, 1619).

The ingredients for pancakes can be seen to symbolise four points of significance at this time of year:

Eggs ~ Creation
Flour ~ The staff of life
Salt ~ Wholesomeness
Milk ~ Purity

For some interesting alternatives, check out some of our versions below.

Banana Pancakes

Prep: 5 mins, Cook: 5 mins, Makes: 4

Ingredients

  • 1 large banana
  • 2 eggs beaten
  • Pinch of baking powder (gluten free if coeliac)
  • Splash of vanilla extract
  • 1 tsp oil

Preparation

  • In a bowl, mash 1 large banana with a fork
  • until it resembles a thick purée.
  • Stir in 2 beaten eggs, baking powder and
  • vanilla extract.
Vegan Pancakes

Prep: 5 mins, Cook: 25 mins with resting, Makes: 6 small pancakes

Ingredients

  • 125g gluten free plain flour
  • egg replacer equivalent to 1 egg
  • 250ml dairy free milk

Preparation

  • Put the flour in a bowl and make a well in the centre. Pour in the egg replacer and a quarter of the milk.
  • Use an electric whisk to thoroughly combine the mixture, then beat in another quarter of the milk. Once lump free, pour
    in the remaining milk.
  • Leave to rest for 20 minutes.
  • Stir again before using.
Spinach Protein Pancakes

Prep:15 mins, Cook: 20 mins, Makes: 12

Ingredients

  • 284ml pot of buttermik
  • 1 egg beaten
  • 2 poached eggs per person to serve (optional)
  • 200g spinach
  • 175g buckwheat flour
  • 1 tsp gluten free baking powder
  • 1 tsp salt
  • pinch of paprika

Preparation

  • Boil the kettle and put the buttermilk and beaten egg in a food processor.
  • Put the spinach in a colander and pour over boiling water to wilt. Squeeze out any excess water, add to the processor and blitz to a smooth purée.
  • Put all the dry ingredients in a bowl and gradually mix in the purée.
Dairy Free Pancakes

Prep: 5 mins, Cook: 25 mins with resting, Makes: 8 small pancakes

Ingredients

  • 125g plain flour
  • 1 egg
  • 300ml dairy free milk

Preparation

  • Put the flour in a bowl and make a well in the centre. Crack the egg in the middle and pour in a quarter of the milk.
  • Use an electric or balloon whisk to thoroughly combine the mixture. Once you
    have a paste, mix in another quarter of milk. Once lump free, mix in the remaining milk.
  • Leave to rest for 20 minutes. Stir again before using.

Prapadasana or TipToe pose

Tip Top Pose

Prapadasana or TipToe pose is a toe-balancing posture that places pressure on and stimulates the calves and ankles. From Sanskrit, pra means “forward” or “before,” pad means “foot” and asana means “pose.”

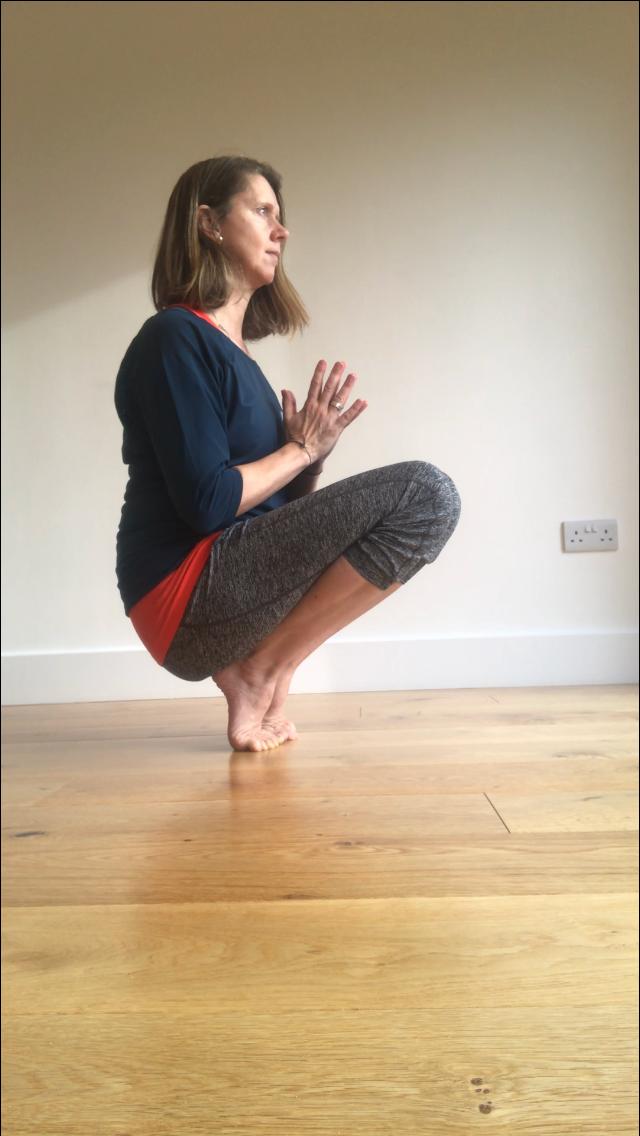
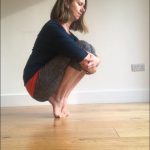
There are different variations of this asana. In the most commonly described version, the body balances on the toes with the heels lifted, then one leg is lifted and taken into lotus pose with the palms brought together in front of the heart.


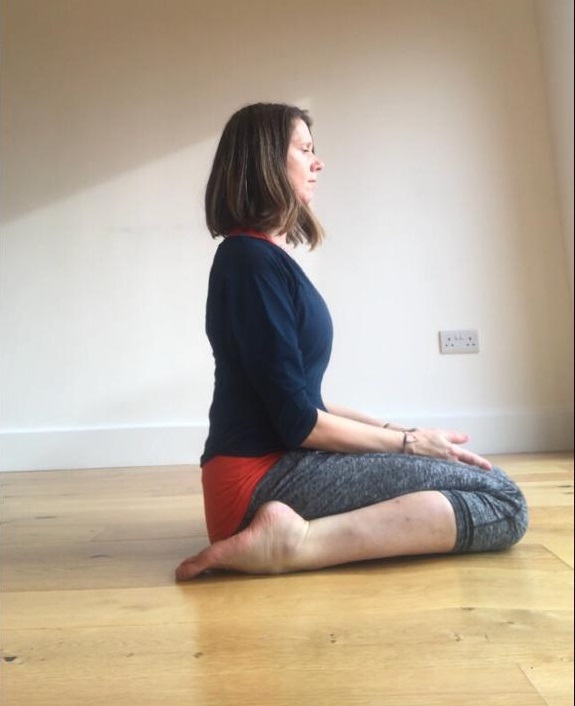
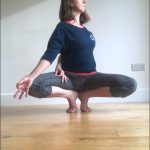
In another variation of prapadasana, both feet remain on the ground and the hips simply rest on the heels as the yogi balances on the toes. The hands may be brought into prayer position then lifted over the head. The knees can be kept together or taken wide apart.


  • From Mountain pose with feet together, bend the knees and allow the heels to lift off the floor as you lower the hips to the heels and bring the fingertips to the floor.
  • Draw the knees down and in towards each other. Stare at a point on the floor in front of you.
  • Keeping your gaze fixed, slowly inhale the arms together in prayer position in front of your heart. Keep the shoulders down and back and the sternum pressing forward.
  • Stay here or you can slowly inhale the arms up over your head with the palms together.
  • Breathe and hold for 2-5 breaths.

The benefits of this pose include, improved concentration and sense of balance as well as helping to strengthen the feet, ankles, calves, knees and thighs and stretching the hip flexors, hamstrings and groins.


Vrksasana or Tree pose

Tree Pose

During February we are discussing a few Yoga poses that have that help the flexibility and stability of the ankles. Today we discuss Vrksasana or Tree Pose.

Tree pose can help improve your balance, and it strengthens your thighs, calves, ankles and spine. It’s also good for stretching the inner thighs, chest and shoulders. Plus it can relieve sciatica, as well as reduce negative effects of flat feet.

While there are a number of physical benefits, Tree Pose also improves concentration. As a student, you can immediately notice how your balance improves when you focus your eyes on a single point (Drishti). If your eyes or your mind are wandering, chances are you won’t be able to balance.

it’s inevitable that you may wobble or lose balance. Trees are made to sway in the wind. So if you fall, you just try again!

  • Start in Mountain Pose, or Tadasana, with your feet hip distance apart. Spread your toes like roots into the earth and gently shift the weight side to side.
  • Bend your right knee and bring the sole of the right foot onto the left thigh, the heel in the inner left groin. Engage your left quad and resist the foot with the thigh.
  • Place your hands on your hips and lengthen your tailbone to the floor.
  • Set your gaze on a Drishti a few feet in front of you, either on the floor for easier balance or straight ahead.
  • Feel free to bring your hands together in Anjali Mudra (palms together in front of your heart), or raise them overhead.

If this variation is too challenging, try placing your foot on the calf instead of the thigh. Or keep your toes on the floor and just place the heel above your ankle. When you’re ready, lower your foot back down with control. Try the other side. It might be different than the first side.

Tree Post Variation 1
Tree Post Variation 2
Tree Post Variation 3

Credit Mindbodygreen.com

Keep following our blog for more discussions about Yoga, Pilates, BARRE and Flexicore.

Welcome

Yoga Pose

Welcome to our blog.

Firstly, welcome to our first blog post. We are really excited to share with you MORE of what the Studio Durham House has to offer.
For those visiting us for the first time, THE STUDIO at Durham House Chiropractic Clinic in Farnham is a large, bespoke studio offering the highest quality core, pilates, yoga, stretch and balance classes. THE STUDIO environment is clean, warm, bright and inviting.
In our blog we will be discussing all things studio. Including Yoga, Pilates, BARRE concept and our very own flexicore. In addition, if there is anything you would like us to talk about, please email thestudio@durhamhousechiropractic.co.uk.

First things first.

So, first things first. Earlier this week on our Facebook page we discussed some Yoga poses that we believe are perfect to help flexibility and stability of the ankles, which i might add, is our main topic during February. Therefore if you do follow us on Facebook or Instagram, you will notice lots of information about feet and ankles from both our Studio and our Clinic.

Yoga for the ankles part 1.

Today we discuss Virasana or Hero pose in more detail.
 
To complete the pose, Kneel on the floor (use a folded blanket or bolster to wedge between your calves and thighs if necessary), with your thighs perpendicular to the floor, and touch your inner knees together. Slide your feet apart, slightly wider than your hips, with the tops of the feet flat on the floor. Angle your big toes slightly in toward each other and press the top of each foot evenly on the floor.
 
Exhale and sit back halfway, with your torso leaning slightly forward. Wedge your thumbs into the backs of your knees and draw the skin and flesh of the calf muscles toward the heels. Then sit down between your feet.
If your buttocks don’t comfortably rest on the floor, raise them on a block or thick book placed between the feet. Make sure both sitting bones are evenly supported.
 
Allow a thumb’s-width space between the inner heels and the outer hips. Turn your thighs inward and press the heads of the thigh bones into the floor with the bases of your palms. Then lay your hands in your lap, one on the other, palms up, or on your thighs, palms down.
 
Firm your shoulder blades against the back ribs and lift the top of your sternum like a proud warrior. Widen the collarbones and release the shoulder blades away from the ears. Lengthen the tailbone into the floor to anchor the back torso.
 
At first stay in this pose from 30 seconds to 1 minute. Gradually extend your stay up to 5 minutes. To come out, press your hands against the floor and lift your buttocks up, slightly higher than the heels. Cross your ankles underneath your buttocks, sit back over the feet and onto the floor, then stretch your legs out in front of you. It may feel good to bounce your knees up and down a few times on the floor.
 
Beginner’s Tip – Often the inner top feet press more heavily into the floor than the outer top feet. Press the bases of your palms along the outer edges of the feet and gently push the pinky-toe sides of the feet to the floor. If your ankles are painful in this pose, roll up a towel and place it underneath them before you sit back.

The benefits are endless.

The benefits of this pose include
  • stretching the thighs, knees, and ankles.
  • Strengthening the arches.
  • Relieving the symptoms of menopause.
  • Reducing swelling of the legs during pregnancy (through second trimester) and is therapeutic for high blood pressure and asthma.
Caution – If you have heart problems or a knee/ankle injury please check before attempting this pose.
 
If you are looking for some variations then clasp your hands, extend your arms forward (perpendicular to your torso and parallel to the floor), turn the palms away from your torso (so the thumbs point to the floor), then raise the arms on an inhalation perpendicular to the floor, with the palms facing the ceiling. Stretch actively through the bases of the index fingers.
 
Credit – Yoga Journal
Photo credit – Vic Williams
Keep coming back every month where we will be discussing all things Studio.
See you soon.
The Studio Durham House Team.